Account access
Existing Inner Circle contributors can access the dashboard by logging in to WordPress using their ASURITE ID and password.
- Go to the Inner Circle login screen at https://innercircle.engineering.asu.edu/wp-login.php
- Enter your ASURITE ID and password.
- Complete the authentication process using the Duo app.
New Users
If you have never logged into Inner Circle, you can also complete the steps above and an account will automatically be created for you after authentication.
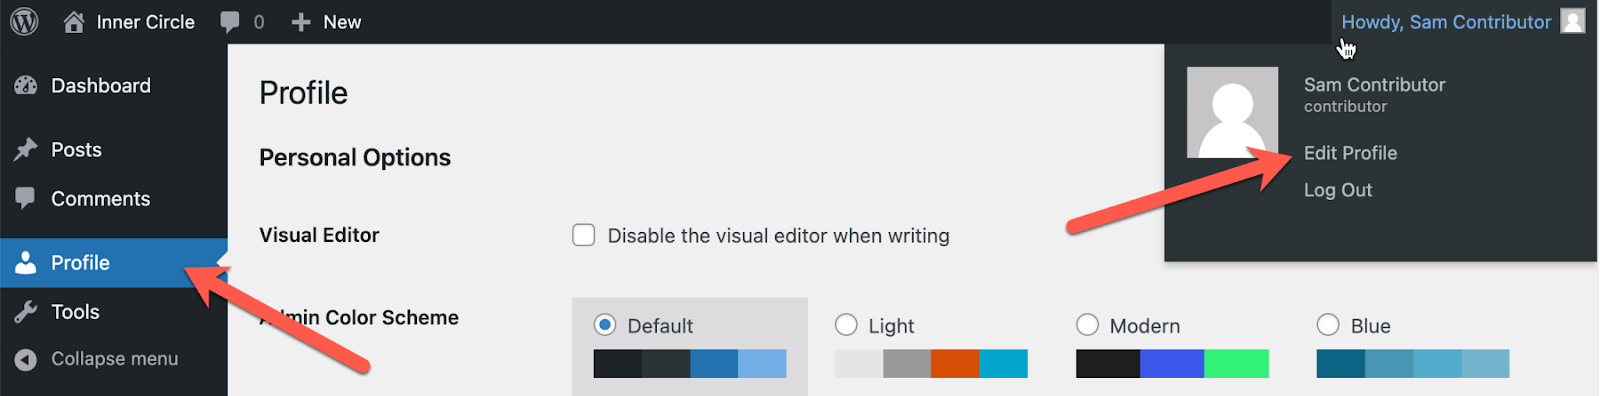
Access your profile
Once you are signed in, please take a moment to update your WordPress profile with some information that can help us to contact you about your submitted contributions. You can access your profile in a number of ways from within the WordPress admin.
Your profile details
Please provide us with some additional information about yourself once you have logged into the site.
- Provide your first name and last name and select how you would like that to be displayed within the site.
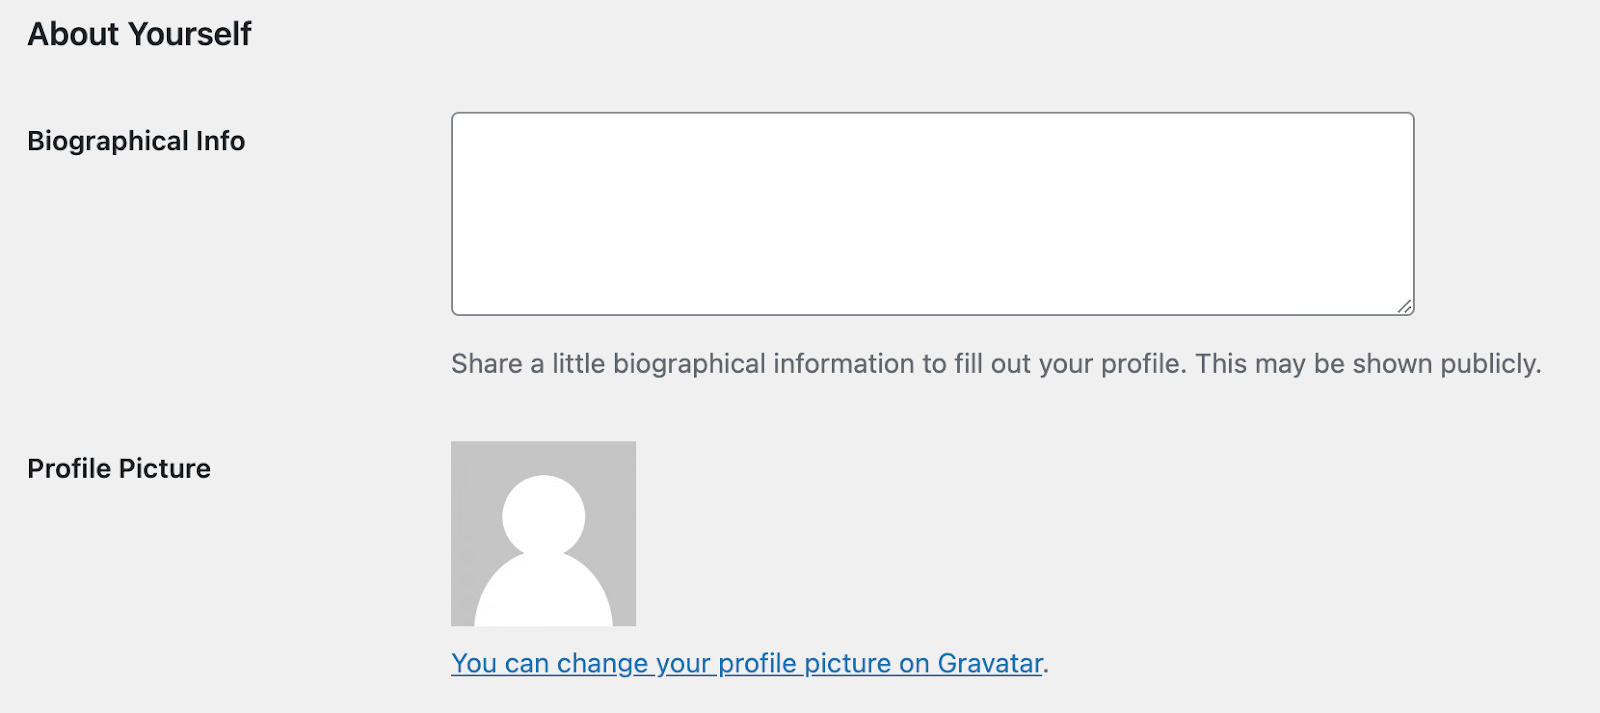
- Please also provide a brief description of what you do for the Fulton Schools in the Biographical Info field.
- You can ignore the warning about the information being publicly available.
- We aren’t publishing this information and we never will.
- This is only to help the Inner Circle editors to understand who you are and where you work.
- You can also include a profile picture using the WordPress service called Gravatar. Click the link and follow the process to update your photo if you choose to use one.

Ready to post?
Here’s our recommended process for creating your first post within Inner Circle. We’ve also created an illustrated quick start guide to help guide you through the process of creating a post for the first time.
- Write the body of the post. Copy and paste it into WordPress from another document if it’s already written.
- Create a descriptive title. Bonus points if the title tells you why your event or post is important. Include the date (e.g., Jan. 1) if the post is about an event or deadline.
- Press the save draft button. Your work will be autosaved, but hitting the button manually allows you to manipulate other settings within the post.
- Adjust your permalink. Remove words like “and” and “the” from the slug to make your URL shorter.
- Assign one category and relevant tags. Add an editorial comment if you are unclear which category to use.
- Add your attachments. Upload an optional featured image and/or post flyer and add them to your post.
- Press the save draft button again. Better safe than sorry.
- If your post has an associated date, add your dates to the Event Meta section. This will place your post on the calendar at the appropriate time.
- Preview your work. The preview button is right next to the blue “Publish” button in the upper right.
- If it looks good, press Publish and then Submit for Review. High five!
On your way out, be sure to leave us any additional notes in the Editorial Comments section about any of the following circumstances:
- An indication of when you would like the post to be published. Our assumption is that you would want your post to be visible immediately, but if it is to be held until a certain date, please let us know.
- Do you want to reuse any assets from the media library from an older post? Please let us know which ones. A proper URL to that asset would be helpful as well. You can find the URL in the media library.